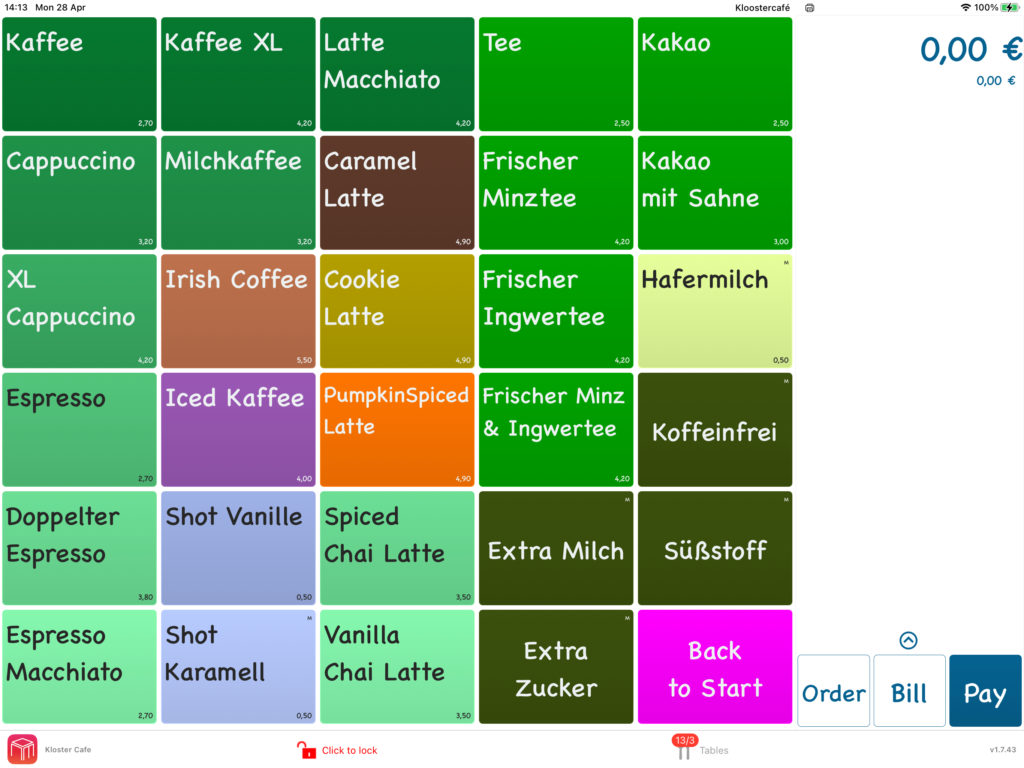
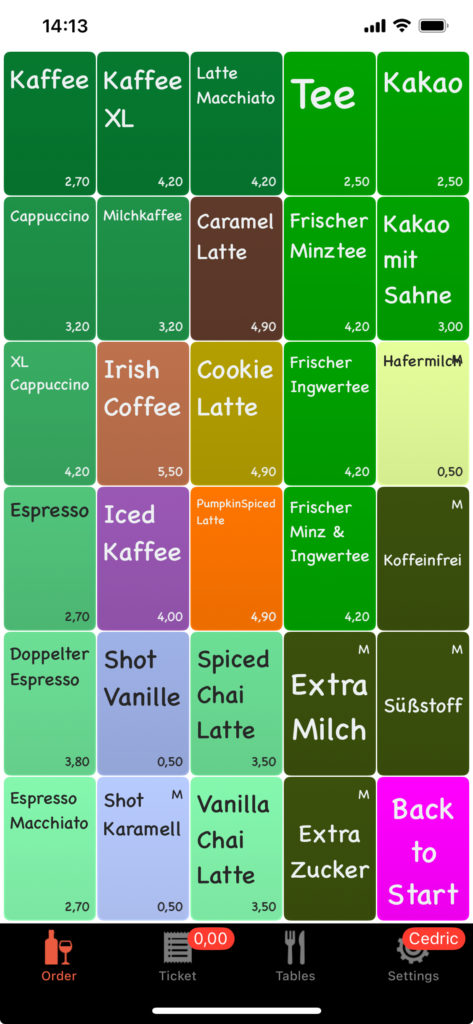
If you want to take orders faster and more efficiently, using the WaiterOne Remote app on an extra iPad or iPhone is the perfect solution. Setting it up is quick, but there are a few important settings you need to adjust to make sure everything works smoothly.
Follow the steps below to connect your Remote device to your main WaiterOne system.
On the Main iPad (Running WaiterOne)
- Activate WaiterOne Remote
Open the Settings inside the WaiterOne app and enable WaiterOne Remote. - Allow Location Access
Go to the iPad’s main Settings app. Scroll down to WaiterOne (either directly in the list or under Apps > WaiterOne) and set Location Access to Always.
Tip: Without this setting, your Remote devices might not find the main iPad. - Enable Local Network Access
Still in the iPad’s Settings, enable Local Network access for WaiterOne.
This allows your main device to communicate with Remotes over the same Wi-Fi network.

On the Remote iPad or iPhone
- Enable Local Network Access
On your Remote device (iPad or iPhone), open the Settings. Scroll down to Remote (or Apps > Remote) and enable Local Network access. - Connect to the Server
Open the WaiterOne Remote app and go to Settings → Server.- Normally, the host (your main iPad running WaiterOne) should appear automatically.
- If it doesn’t, there may be a network issue. You can manually enter the IP address instead:
- On your main iPad, go to Settings → Wi-Fi.
- Tap the connected network name and find your device’s IP address.
- Download the Configuration
After selecting or entering the server, simply press Download.
The Remote app will import the necessary settings and link to the main WaiterOne system.

Final Tips
- Make sure both devices are connected to the same Wi-Fi network. Once configured your remote will also work without being connected to the same Wi-Fi network.
- Double-check that Local Network and Location permissions are allowed, or the Remote won’t be able to find the server.
- If you experience connection issues, restarting both devices and your Wi-Fi router often helps.
By following these steps, you’ll have your WaiterOne Remote up and running in just a few minutes, ready to take orders and speed up your service!
Quick Setup Checklist ✅
On the Main iPad:
- Open WaiterOne → Settings → Activate WaiterOne Remote.
- Go to iPad Settings → WaiterOne → Set Location Access to Always.
- Enable Local Network access for WaiterOne.
On the Remote iPad/iPhone:
- Enable Local Network access for Remote (in iPad/iPhone Settings).
- Open WaiterOne Remote → Settings → Server.
- Select the server automatically, or manually enter the main iPad’s IP address.
- Tap Download to sync settings.